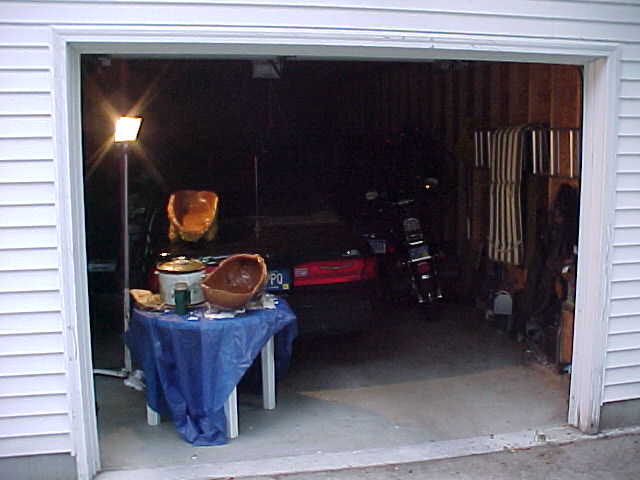
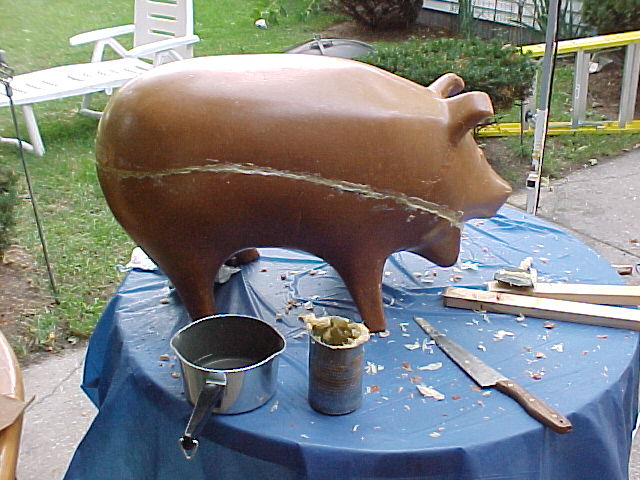
Notice my attempt at managing the mess.

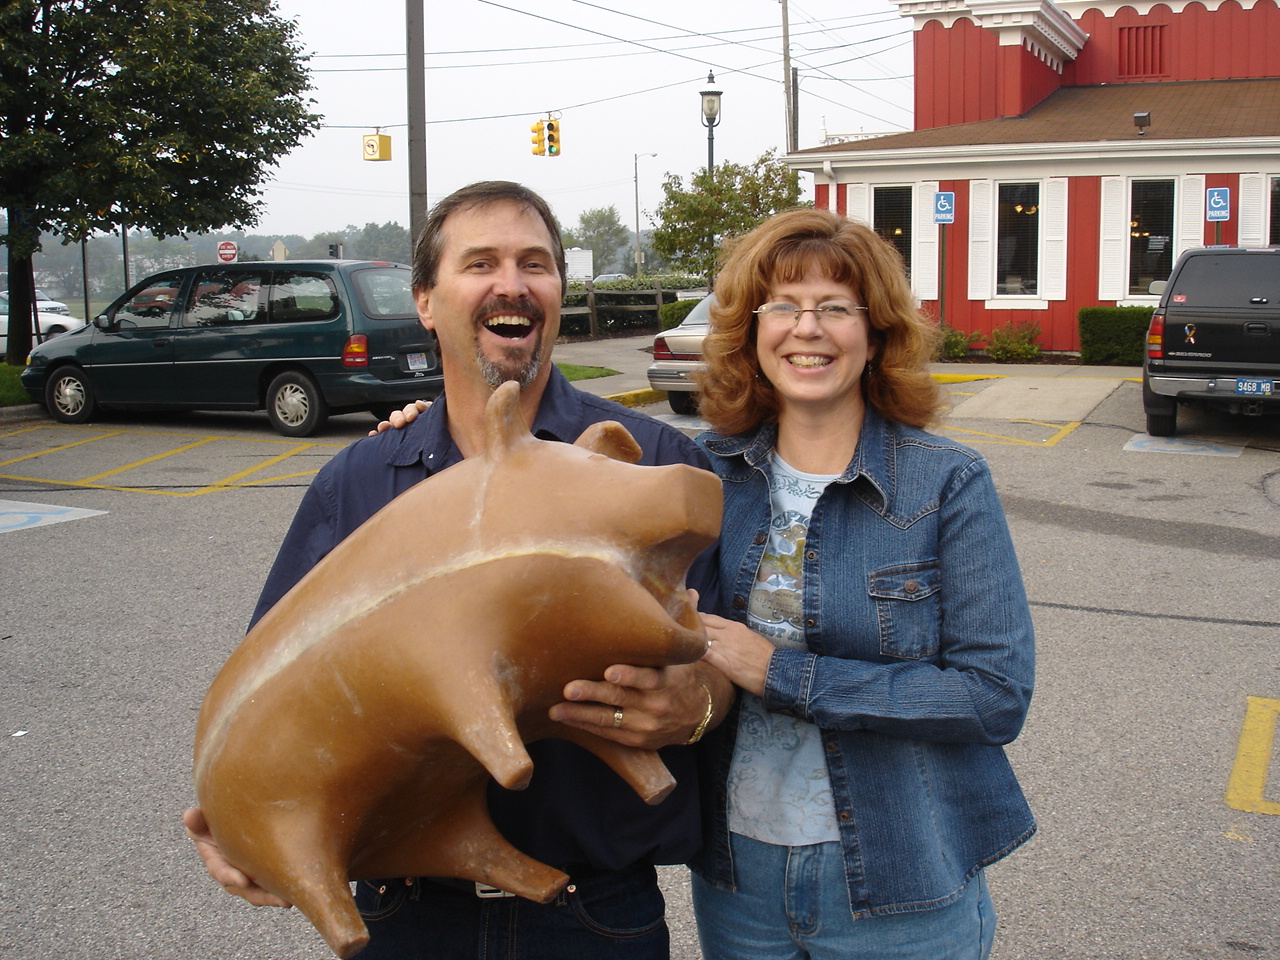
I finally cut into her (I'll call her Peg.) Here's Michelle, trying to show the
huge load of wax we pulled out of there. The picture doesn't really show it well.
It got dark, but that's because we took a break for dinner.
This was my brilliant idea. I thought that this might allow the wax to cool without
breaking away. Before spilling any wax into it, I realized it wouldn't work for
a couple reasons. First, it leaked through both ears. I experimented and found that
water would ruin the wax shell. I didn't have any special glue. (I ordered some
more, and have it now.) The other problem was that I couldn't turn the pig all the
way over in that tub of water without getting water inside. That was a pretty serious
restriction. There was no way to coat the belly.
I tried this trick before. It still doesn't work. It just doesn't.
So, I cut into the rubber. (If I had only known this when I cut the pattern out,
way back when.) I thought that two pieces would work. I expected to coat the rubber
with plaster or cement, to keep its shape. At the store, I settled on plaster, because
it sounded more artistic than cement.
There's no way to get the rubber off if it's supported by ridged plaster. So I
cut the top piece in two.
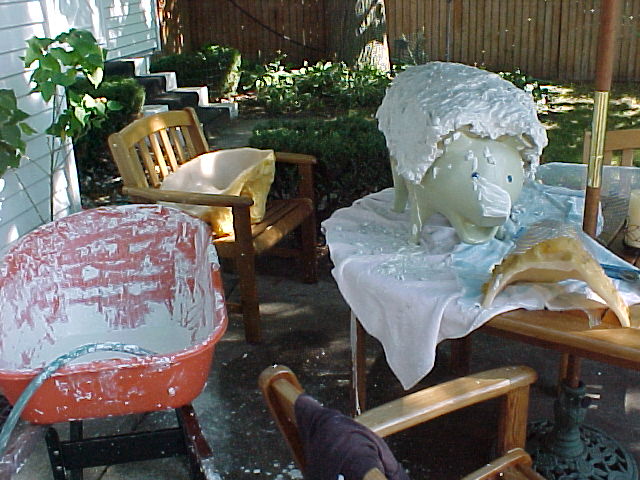
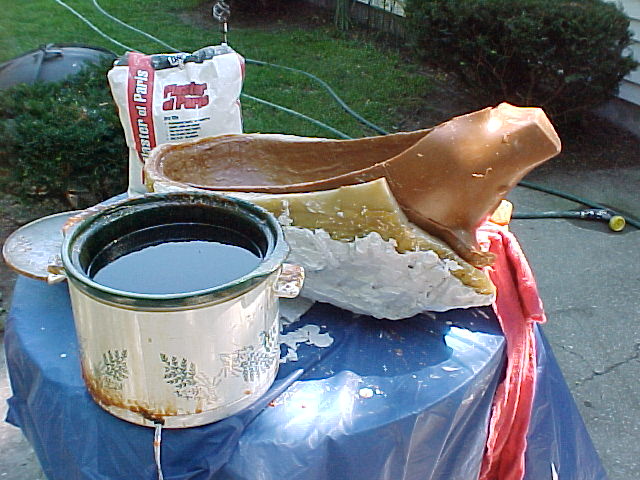
Plaster of Paris sets real fast, so I had to mix small batches. The mess quickly
got out of hand. I had this crap everywhere, even all over the glass door. When
Michelle came home and asked if it would come off, I just said "no".

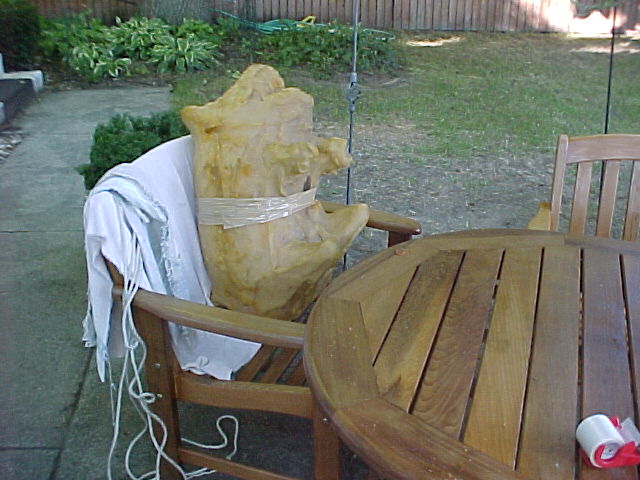
I had no idea how heavy this thing would be. When I tried to move it, it was all
I could do. Michelle had to help me lay it down. The stuff actually wraps around
the shoulders, and so it had to be cracked to remove the pattern.
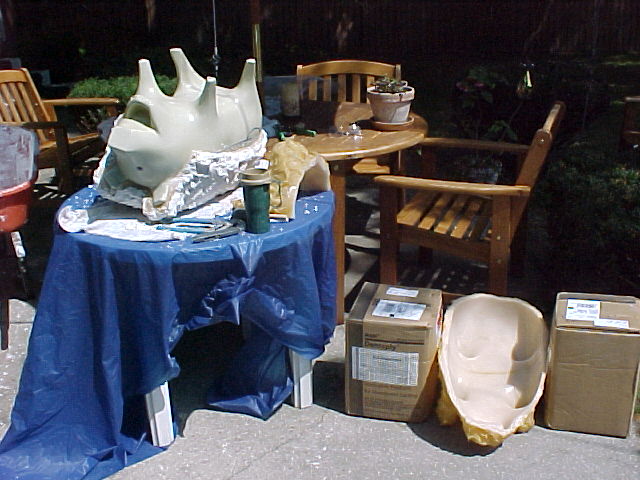
I looked a long time at the bottom half. If I coated it in plaster, I would have
to do it in no less than four pieces. I decided to take a big chance. I might save
a LOT of time this way. The legs supported it quite nicely. I tried just propping
it between boxes (of investment - the stuff we'll use for the ceramic mold).
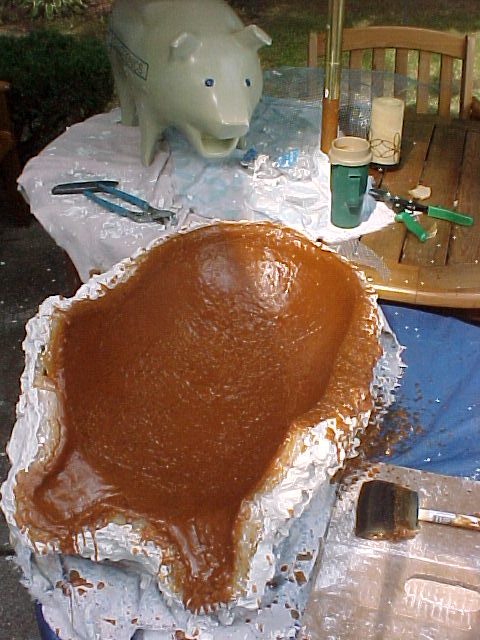
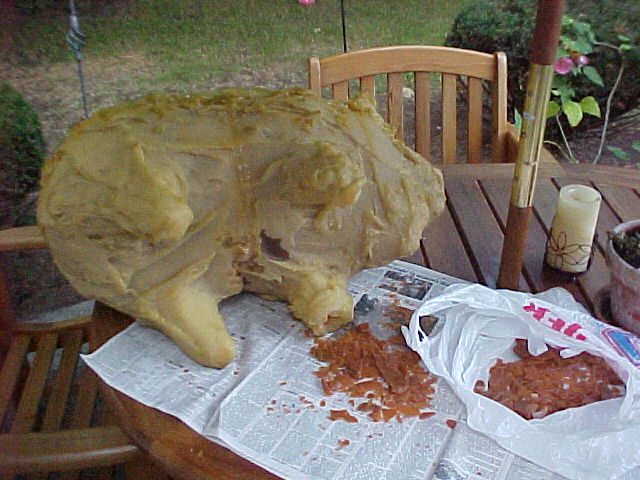
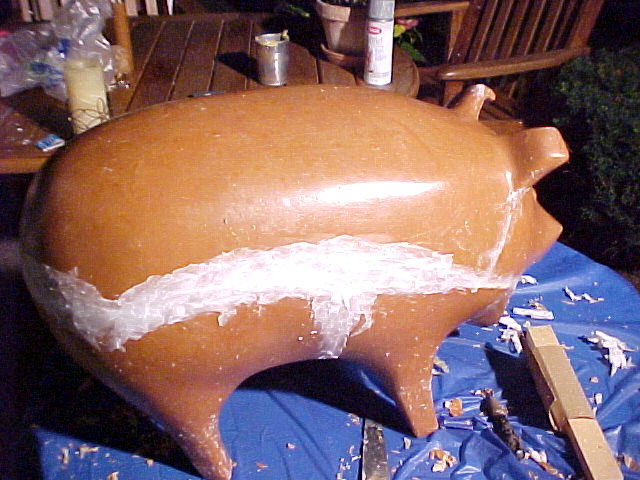
I was surprised at how much wax this takes. That's about a whole crock-pot there.
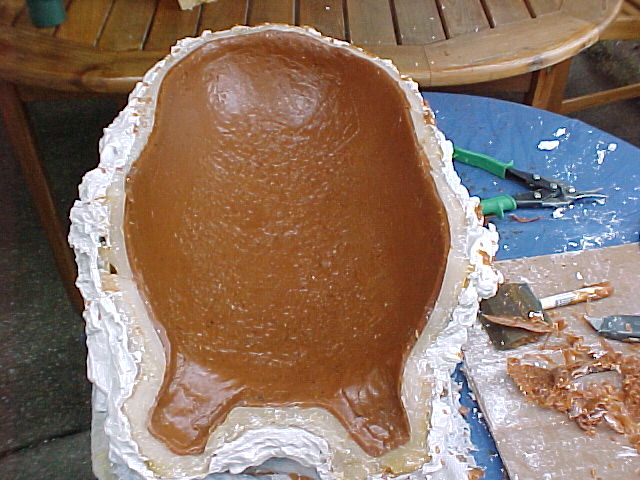
I cleaned the edge off, to see how think the shell is. I want it to be 1/4 to
3/8 inch thick.
Right about now, I decided to forget casting this in one piece. I mean, making
the core and holding it in place was scary enough, but running out of metal was
just too much to worry about. Working on this shell, in pieces, was so much easier
than as a whole, being able to see and work on the inside, that I decided to do
the same with the metal. I'll weld the pieces together. (I need to practice anyway.)

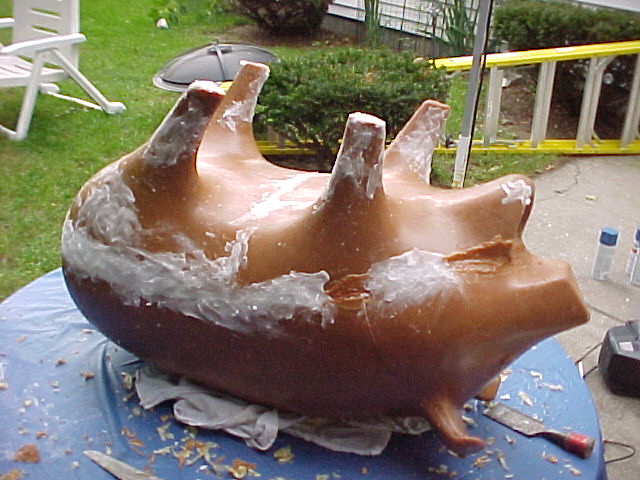
Here's the bottom. You can't tell, but I'm having trouble coating the legs. I'm
using a brush, and I can't help creating small ravines where the wax runs down.
The sides had the same problem. Picking up the shell and rotating it as the wax
cools was the only solution.
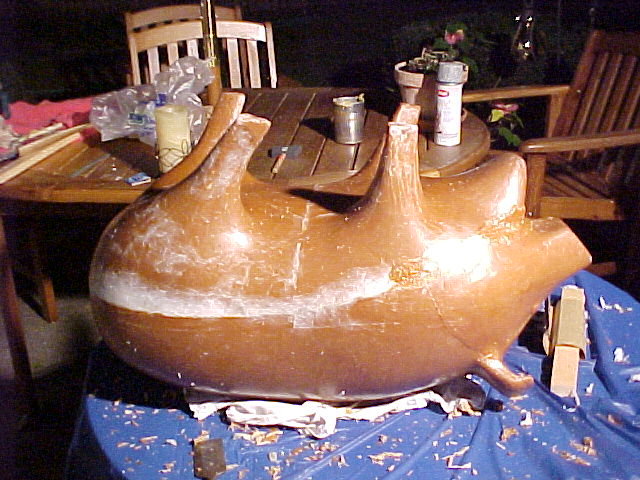
I had trouble rotating this part, because it was so darned heavy.
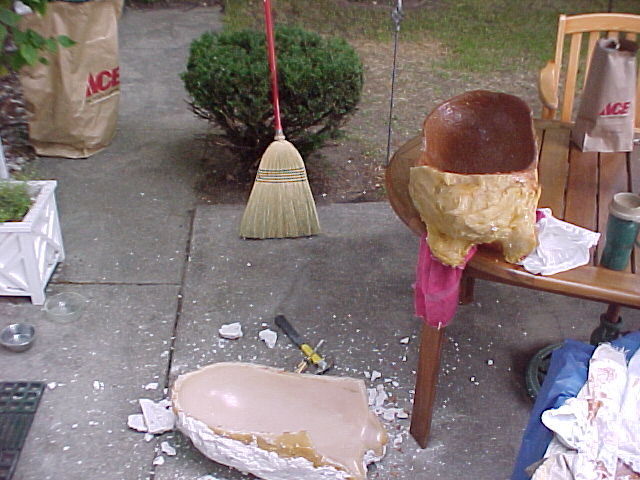
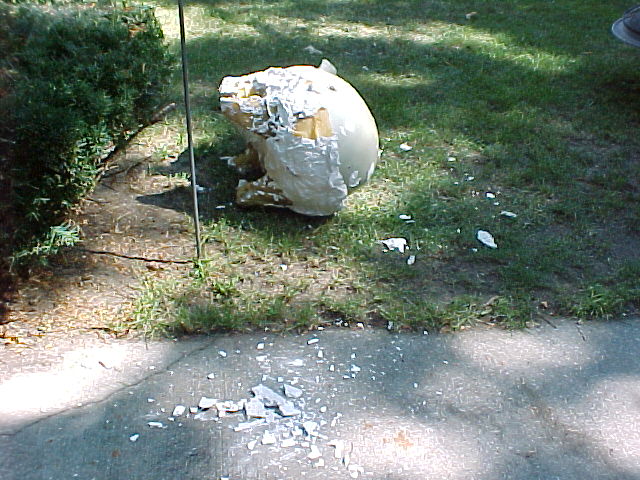
So I decided to bust it, as soon as I could, and take the wax out.
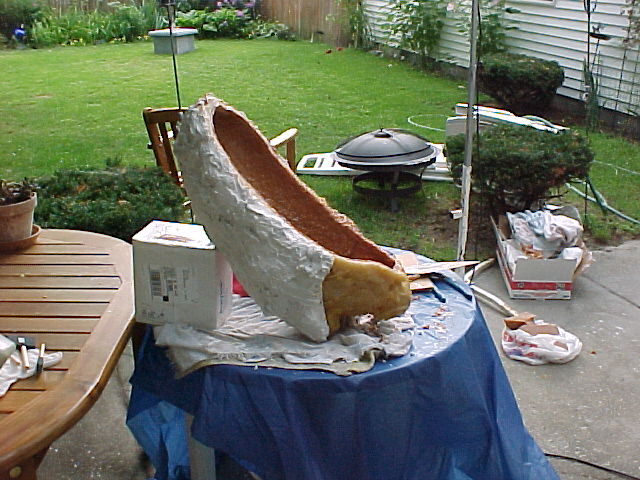
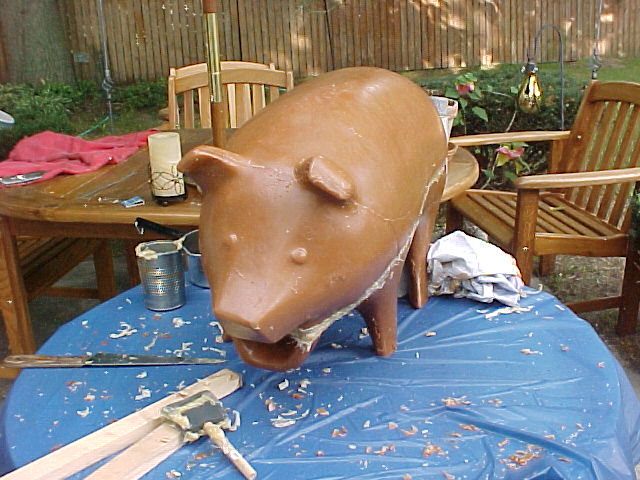
Here's the shell. It's exciting to see progress, after so long.
It started to rain, so I moved inside.
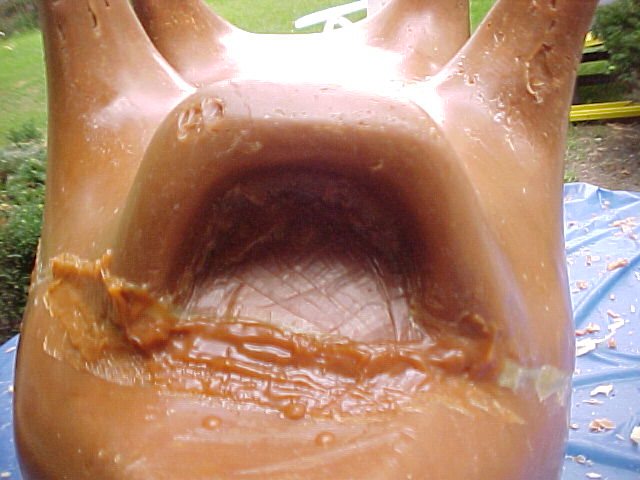
I screwed up a bit, causing myself more work. I continued slopping wax into the
shell, without realizing that I was letting it run down the outside.
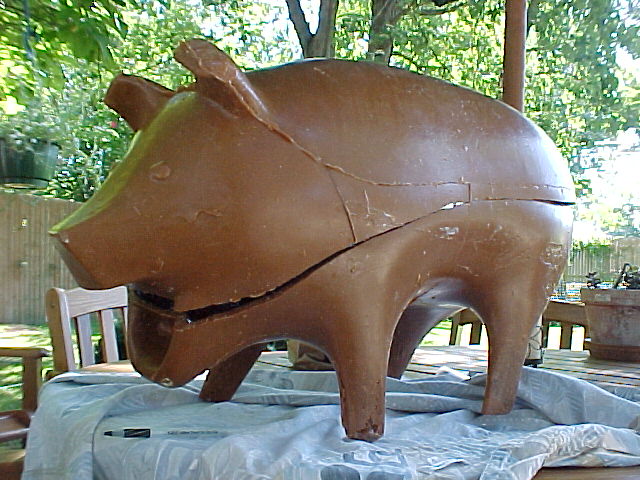
I put the pieces together to see if they'd fit. I'm surprised at how well they
actually do. The biggest problem is with the mouth. It hangs down and produces a
gap almost a half inch wide.
I ordered some "sticky wax" and some "patching wax". The guy on the phone said
I should call him back when I get it and he'll tell me what to do.
I'm really getting excited, here.
Well.. I put Peg's pieces together and was a bit frustrated, but not surprised.
I expected this kind of problem.
I've never had experience with "patching wax" or "sticky wax", but I have a strong
feeling that this is pushing things too far. I called the guy who sold me the wax
and he got tired talking to me right away. But he agreed that I should do something
about that gap.
Michelle thought the hair dryer would warm it up enough to shape it. I was skeptical.
The foundry wax is pretty hard (although I have noticed that it softens somewhat
when it gets real hot out).
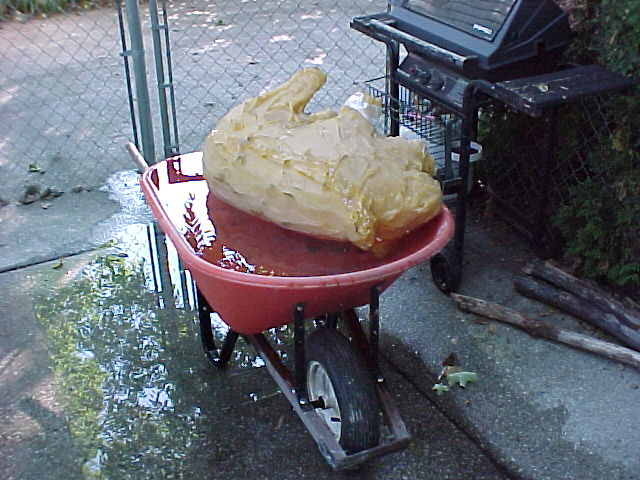
I thought I better start over with the bottom part. I would try putting plaster
round it, without covering the legs or mouth. I thought that that way I could probably
get the pattern out without having to do it in five pieces. So.. I got the wheelbarrow
and started again. I kicked myself for not thinking of that in the first place.

I had enough wax. But if I ran short, I could always break this bottom part and
melt it down.
Well.. I couldn't get that pattern out. I tried, but realized that the only way
to do it is in pieces. At this time, I got real frustrated.

I started thinking about alternatives. I took another look at the misshapen wax,
and decided to work with it some more.
I put the thing back in the rubber and build the back end with more wax. This
worked pretty well.

I couldn't get the rubber to help me with the front part, because the nose and
mouth held it where it was to start with. So I just dabbed wax along the edge and
built it up that way.
When I put the pieces together, they looked better, but they didn't line up. The
back end of the bottom stuck out a half inch and the sides pinched in that far,
a few inches forwards. `Same story near the front. The bottom jaw stuck out and
the cheeks were pinched in.
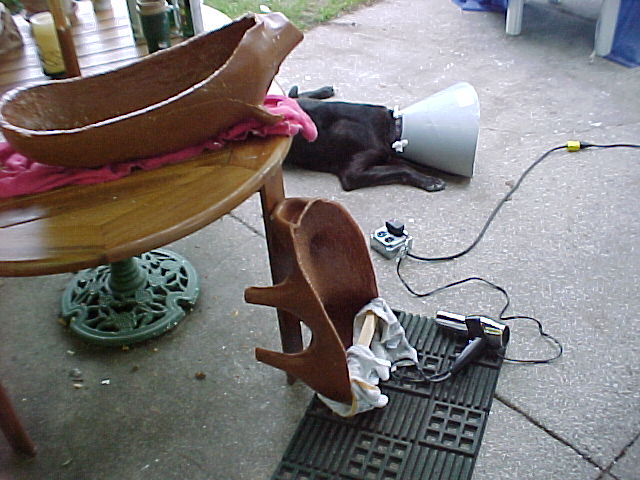
I got Michelle's hair dryer. It actually seemed to help. I cut a brace and propped
it up while it cooled.
My biggest fear was that I'd get impatient and break something.
It was taking too long, so I cooled it with the hose.
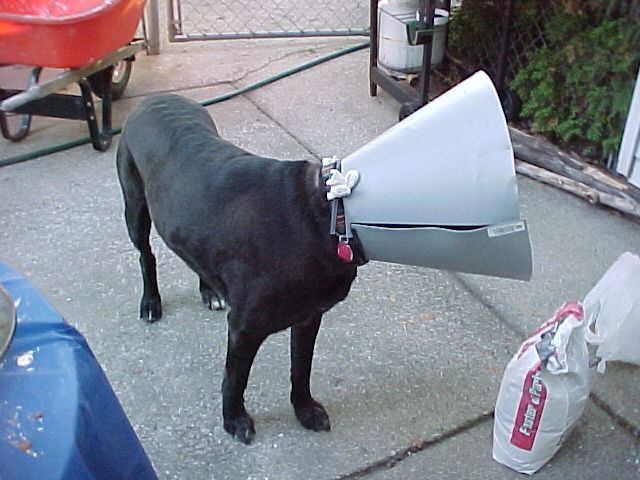
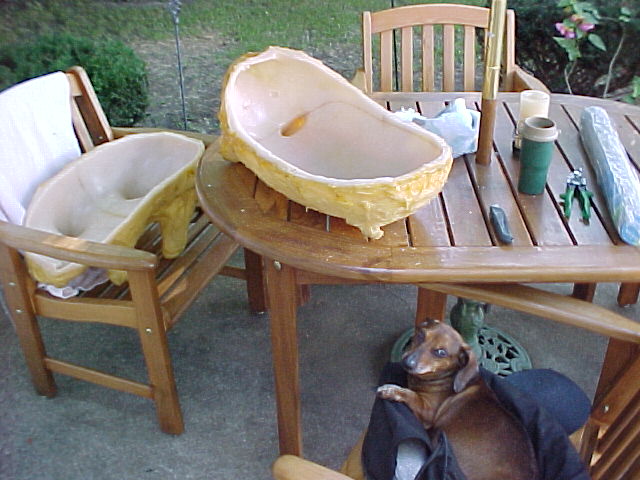
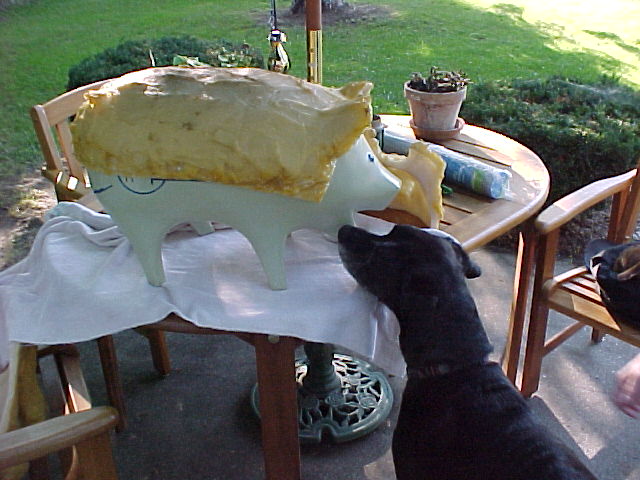
I could *not* get this dog to look at the camera. (He had a little biopsy yesterday.)
This is looking much better.
The pieces actually fit together pretty good.
I have a little problem under the snout, but I can carve that after warming it
with the hair dryer.
I worked a small piece of patching wax between my fingers and got it to warm and
soften up that way. Then I smeared it on the back of the pig. I was able to fill
a small void, and feather the edge. I rubbed a cloth over the surface to finish
it. It looked encouraging. This might work.
I coated the edges with "sticky wax" and fused it together. It took pretty good.
It seems strong.
Now, it's time to use the "patching wax" to fill in all the voids.

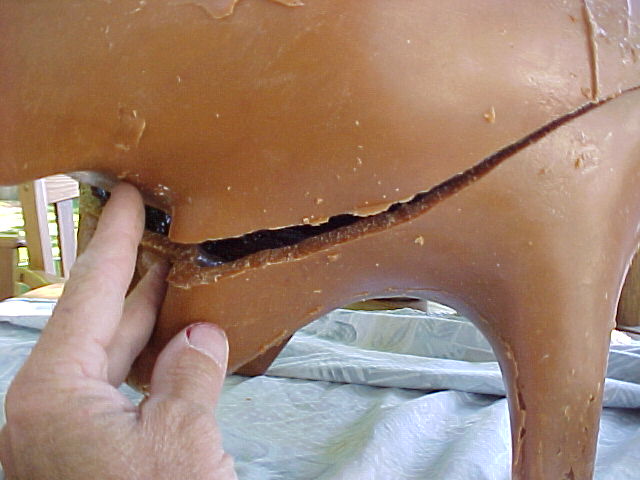
You can see some of the biggest voids here.
The patching wax isn't as strong as the regular foundry wax, so I used that in
this big gap.

You can see that the pieces still don't line up right. I tried feathering the
patching wax here.
So, we're under way.
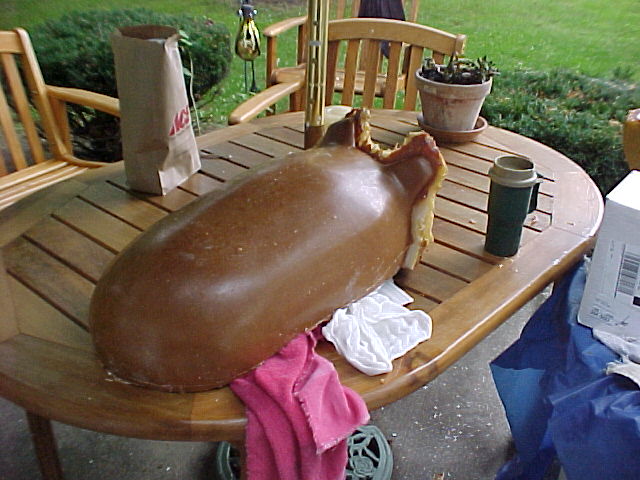
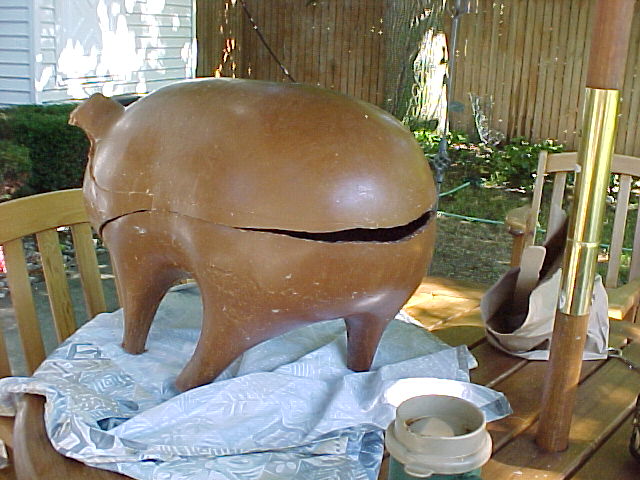
Here she is, all built up with patching wax.
I can do a pretty good job with scrapers and rags.
Here she is in early September. She'll go back on the shelf now until, at least,
Thanksgiving. Maybe Christmas.
I'll work more on the surface with some kind of wax solvent. Maybe lighter fluid.
Then I'll cut a 5" square door in her side. Then cut her in two pieces, front and
rear. Then I'll attach sprues and vents and bathe her in investment. I already have
the flasks made.
We'll update you then!